shadPS4 setup: the emulator route
Step by step from an empty folder to a booted Hunter's Dream, including the parts nobody mentions.
Download the shadPS4 Qt launcher, install the Microsoft Visual C++ 2022 runtime on Windows, then use the launcher's Version manager to fetch a build. Point it at a dumped PS4 folder named CUSAxxxxx with the 1.09 update applied.
Quick answer: download the shadPS4 Qt launcher, install the Microsoft Visual C++ 2022 runtime if you are on Windows, then use the launcher's Version manager to fetch a stable or nightly build. Point it at a dumped PS4 folder named CUSAxxxxx with the 1.09 update applied, and add firmware modules, fonts and a trophy key from your own console for the best compatibility.
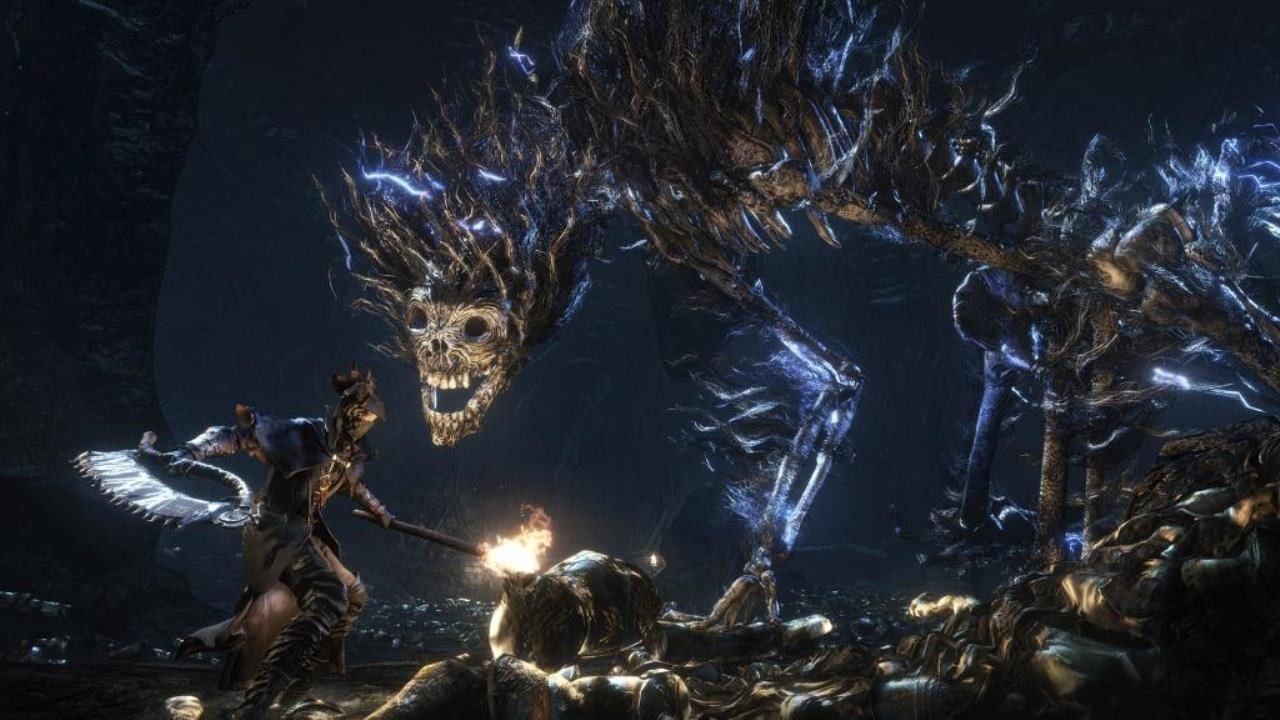
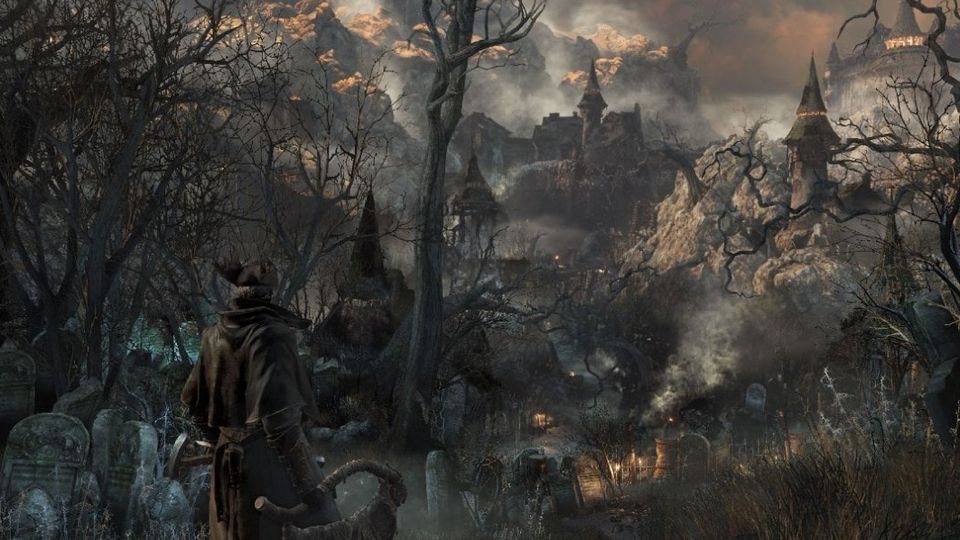
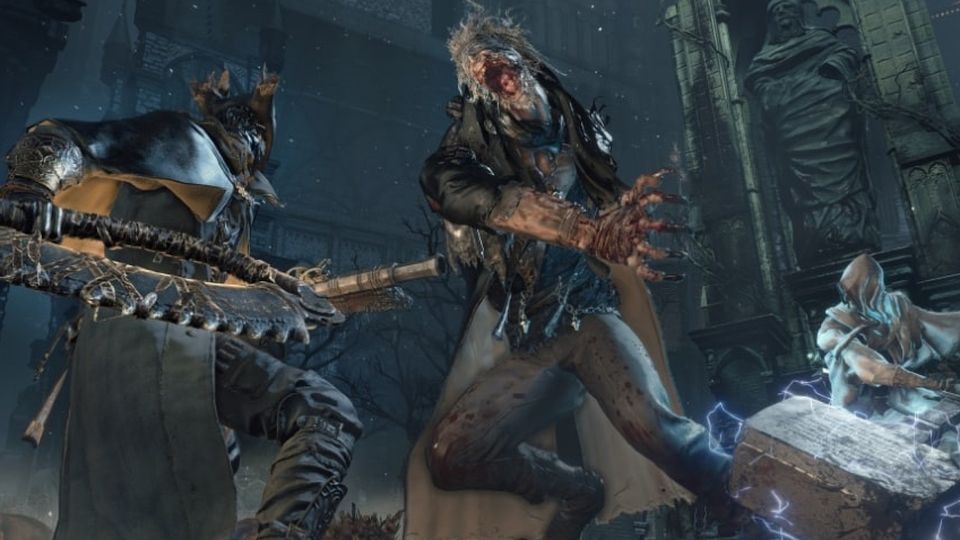
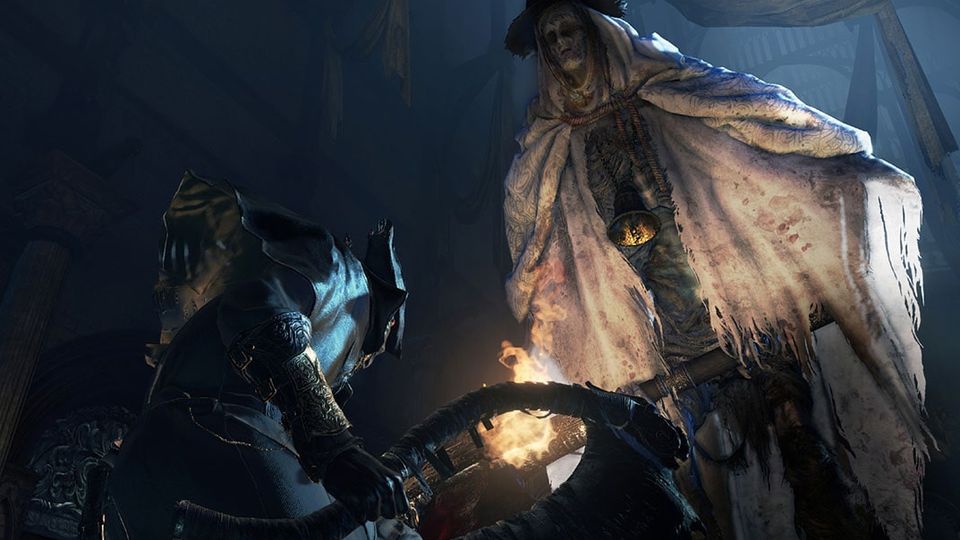
Official Bloodborne screenshot, PlayStation.
What you are installing
The shadPS4 repository is the emulator core and has no GUI — its own README says so and sends end users to the Qt launcher, where the version manager, per-game settings, patch downloads and compatibility view live. The current stable release is v0.20.0, published 14 October 2026, and nightly builds have continued since; the launcher itself ships as one rolling release with separate archives for Windows, Linux and macOS.
| Minimum | |
|---|---|
| CPU | 4 cores / 6 threads above 2.5 GHz, x86-64-v3 — Intel Haswell, AMD Excavator, or Apple M1 under Rosetta 2 |
| GPU | 2 GB VRAM, Vulkan 1.3 with VK_KHR_swapchain and VK_KHR_push_descriptor |
| RAM | 8 GB |
| OS | Windows 10+, Ubuntu 22.04+, macOS 26+ — Intel Macs unsupported |
Install it
- Download the Qt launcher and extract it somewhere ordinary. Do not point shadPS4 or its folders
at a location needing administrator rights; the project warns that causes odd behaviour or stops it starting at all.
- Windows: install the Microsoft Visual C++ 2022 redistributable first, then run
shadPS4QtLauncher.exe. Linux: run the AppImage. macOS: the first launch is blocked by Gatekeeper — approve it under Privacy & Security.
- Open Version manager, pick the build you want, confirm. Several versions can live side by
side and you switch between them from the version number at the top of the window.
- Update the drivers of every GPU in the machine, integrated graphics included — stale drivers
elsewhere in the system interfere with the emulator.
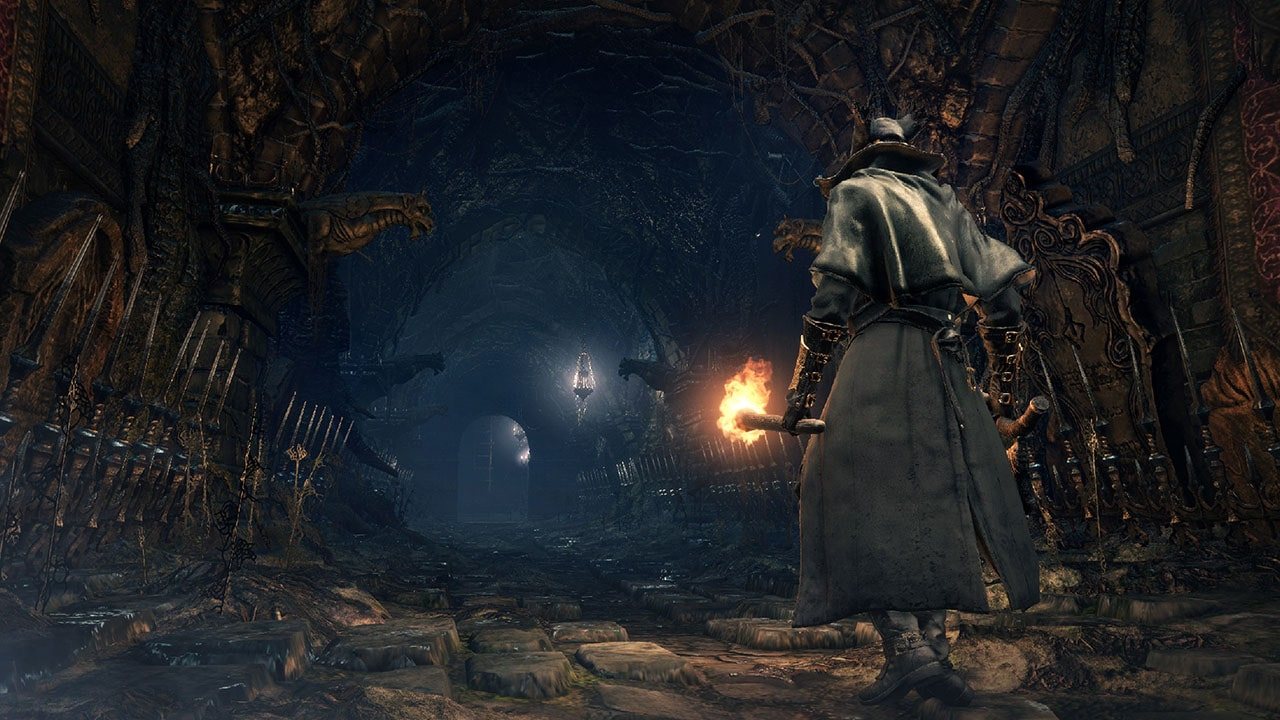
Official Bloodborne screenshot, PlayStation.
Prepare the game
A dumped game folder must be named CUSAxxxxx; if your dumper appends -app, remove it. Updates go in as CUSAxxxxx-patch, and the launcher then shows the installed version.
- DLC goes in the additional-content directory, in a folder named after the game folder.
- Firmware modules come from your own console's
/system/common/lib/into the emulator's
sys_modules folder. A handful are only available this way, which is why dumping them improves compatibility.
- Firmware fonts come from
/preinst/common/fontand/system/common/font2into the fonts
directory. Fonts decide whether in-game text draws at all.
- The trophy key is extracted from your console's
SceShellCore.elfwith the tool linked from
the wiki, then entered in settings or config.toml.
- Saves live in
user/savedata/1/<Game ID>; the log called for in bug reports is the last run
only, at user/log/shad_log.txt.
Keyboard, controller and the keys worth knowing
Xbox and DualShock controllers work out of the box. On a keyboard, movement is WASD, the camera is IJKL, the face buttons sit on the numpad or on C, B, N and V, Options is Return, the touchpad is Space, and the shoulders are Q, U, E and O. Bindings are per-game, support up to three keys each, and can take mouse buttons or mouse movement mapped to a stick.
| Key | Does |
|---|---|
| F10 / Ctrl+F10 | FPS counter / video debug information |
| F11 | Fullscreen |
| F12 / Alt+F12 | Capture, with or without the HUD and dialogs |
Settings worth touching
Most tabs are marked "do not change this unless you know what you are doing", and that advice is worth taking. The ones that help in normal use: the Graphics tab to select the discrete GPU explicitly on a laptop with integrated graphics; the General tab to turn on Display Compatibility Data; and the update channel, where nightlies carry fixes first and releases are where they stay.
Patches, cheats and the caveat
Right-clicking a game gives you patches and cheats tabs, and the launcher can download the whole set from the community repositories. It is also where the project is blunt: patches, cheats and mods are outside what it supports, and bug reports made with them loaded are not something the maintainers will chase. For frame-rate and camera patches the ports handle this better — see mods. Anything that goes wrong after you turn patches on should be diagnosed with them off again.